- 1Halcon三维模型预处理(1):调平的三大手法_halcon 3d测量找平
- 2EasyAR4.0使用说明(Unity3D)三----平面图像跟踪扩展:视频播放,涂涂乐_unityeasyar怎么用quad播放视频
- 3【SEO优化】之html语义化标签_html中seo的语义化标签含义
- 4Unity技能学院——Inputsystem第一期_unity inputsystem
- 5gmssl服务端和客户端程序、吉大正元身份认证网关、吉大正元SDK+USBkey 两两之间双证书双向认证数据通信测试_using default temp dh parameters error setting cer
- 63DGS脚本教程翻译(8)-位置,角度和比例_3d脚本面向怪物角度怎么调
- 7C:exit(0),_exit(0),exit(1),exit(-1)作用与区别_exit -1
- 8关于shared_ptr的释放_shared_ptr 指针释放
- 9Tensorflow学习笔记十——循环神经网络_nn(batch_size=1, graph=graph1)
- 10win32gui操作_win32gui教程
uniapp中使用微信小程序custom-tab-bar_uniapp custom-tab-bar
赞
踩
今天把小程序项目中的 tabBar 改为使用自定义的tabbar
其实很简单,只要按照小程序开发文档中的步骤来做
1、配置信息
在 app.json 中的 tabBar 项指定 custom 字段,同时其余 tabBar 相关配置也补充完整。
所有 tab 页的 json 里需声明 usingComponents 项,也可以在 app.json 全局开启。
示例:
{
  "tabBar": {
    "custom": true,
    "color": "#000000",
    "selectedColor": "#000000",
    "backgroundColor": "#000000",
    "list": [{
      "pagePath": "page/component/index",
      "text": "组件"
    }, {
      "pagePath": "page/API/index",
      "text": "接口"
    }]
  },
  "usingComponents": {}
}
- 1
- 2
- 3
- 4
- 5
- 6
- 7
- 8
- 9
- 10
- 11
- 12
- 13
- 14
- 15
- 16
- 17
2、添加 tabBar 代码文件
在代码根目录下添加入口文件:
custom-tab-bar/index.js
custom-tab-bar/index.json
custom-tab-bar/index.wxml
custom-tab-bar/index.wxss
- 1
- 2
- 3
- 4
3、 编写 tabBar 代码
用自定义组件的方式编写即可,该自定义组件完全接管 tabBar 的渲染。另外,自定义组件新增 getTabBar 接口,可获取当前页面下的自定义 tabBar 组件实例。
文档是这么写的,但是按照官方给的代码片段,在uniapp上好像不可行

现在的效果是,切换了tab,页面也切换了,但是激活的tab没有切换过来,因为我们没有调用不到getTabBar
然后想到在每个 tabbar 页面引入该 custom-tab-bar 组件,然后在页面 onShow 的时候调用组件实例改变selected值就可以达到目的。
在pages.json中引入原生组件
// pages.json
{
	"pages":[
		{
			"path": "pages/index/index",
			"style": {
				"navigationBarTitleText": "工作台",
				"enablePullDownRefresh": true,
				"usingComponents": {
					"custom-tab-bar": "/custom-tab-bar/index"
				}
			}
		},
		...
	]
}
- 1
- 2
- 3
- 4
- 5
- 6
- 7
- 8
- 9
- 10
- 11
- 12
- 13
- 14
- 15
- 16
在页面中调用
// index/index.vue
<template>
...
    <custom-tab-bar v-show="0" ref="customTabBar" />
...
</template>
<script>
...
onShow() {
this.$nextTick(() => {
      this.$refs.customTabBar.getTabBar().setData({
        selected: 2
      })
    })
}
...
</script>
- 1
- 2
- 3
- 4
- 5
- 6
- 7
- 8
- 9
- 10
- 11
- 12
- 13
- 14
- 15
- 16
- 17
- 18
现在就可以tab切换和激活状态同步了
更新
后来看到一篇文章说在 this.$mp.page 下可以调用到 getTabBar() 方法
用这个方式可以不需要像上面这样再重复引入组件,比较优雅
onShow() {
  this.$mp.page.getTabBar().setData({
    selected: 1
  })
}
- 1
- 2
- 3
- 4
- 5
4、踩坑
完美,就这样简简单单实现了,非常顺利,然后我在手机预览的时候
发现了这个出现了两个tabbar,没错就是自定义的和原来的上下叠着在一起。

怎么会这样
明明设置了 “custom”: true 的。
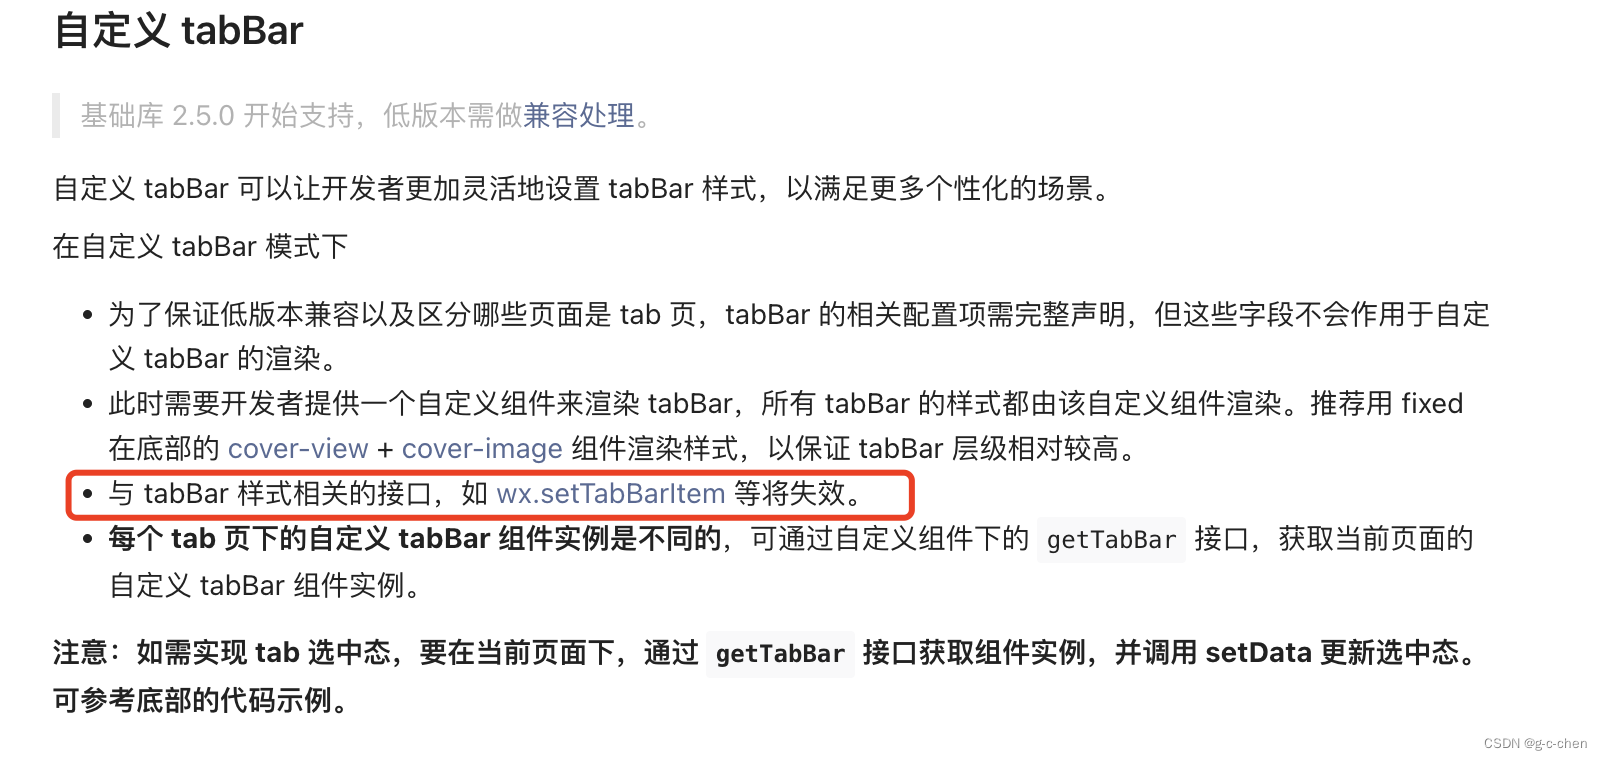
而且看文档里面有说 与 tabBar 样式相关的接口,如 wx.setTabBarItem 等将失效。

5、解决
后来想到会不会是调用了showTabBar,一搜代码,果然有,但是为什么还生效叻,噢文档没说设置了"custom": true后showTabBar这些接口会失效
把代码中的 showTabBar 去掉之后,就正常了

每天一个小知识


