- 1【OpenCV】第十九章: 视频操作入门_cv::videocapture
- 2Android源码下载网址
- 3用批处理命令打开控制面板选项_批处理打开控制面板
- 4获取linux内存、cpu、磁盘IO等信息脚本及其原理详解_shell 脚本 cpu 取平均值
- 5anaconda目录下的pkgs文件夹很大,可以删除吗?_anaconda pkgs
- 6Yolov5、yolov7、yolov8训练自己的数据集(不用配环境,只需3步就能训练自己的数据集)_yolov7 百度网盘
- 7sklearn.metrics 中多分类问题指标的计算函数使用_y_score怎么计算
- 8oracleshell执行新医保数据转换后台_oracle 医保
- 9GPT2原理_gpt2基础原理
- 10【SPIE独立出版 | Ei检索 】第二届物联网与机器学习国际学术会议征稿中!_spie会议论文集影响因子
【游戏开发创新】使用Unity ShaderGraph实现在模型上涂鸦的效果,那么,纹个手吧_unity 纹理采样 涂鸦
赞
踩
一、前言
点关注不迷路,持续输出Unity干货文章。
嗨,大家好,我是新发,之前写了一篇文章:《ShaderGraph使用教程与各种特效案例:Unity2020》。
昨天,又有个同学问了我一个问题:

昨天太忙了,今天趁下班后的业余时间,就来讲讲这个问题吧:
如何使用Unity ShaderGraph实现在模型涂鸦的效果?
本文最终效果如下:
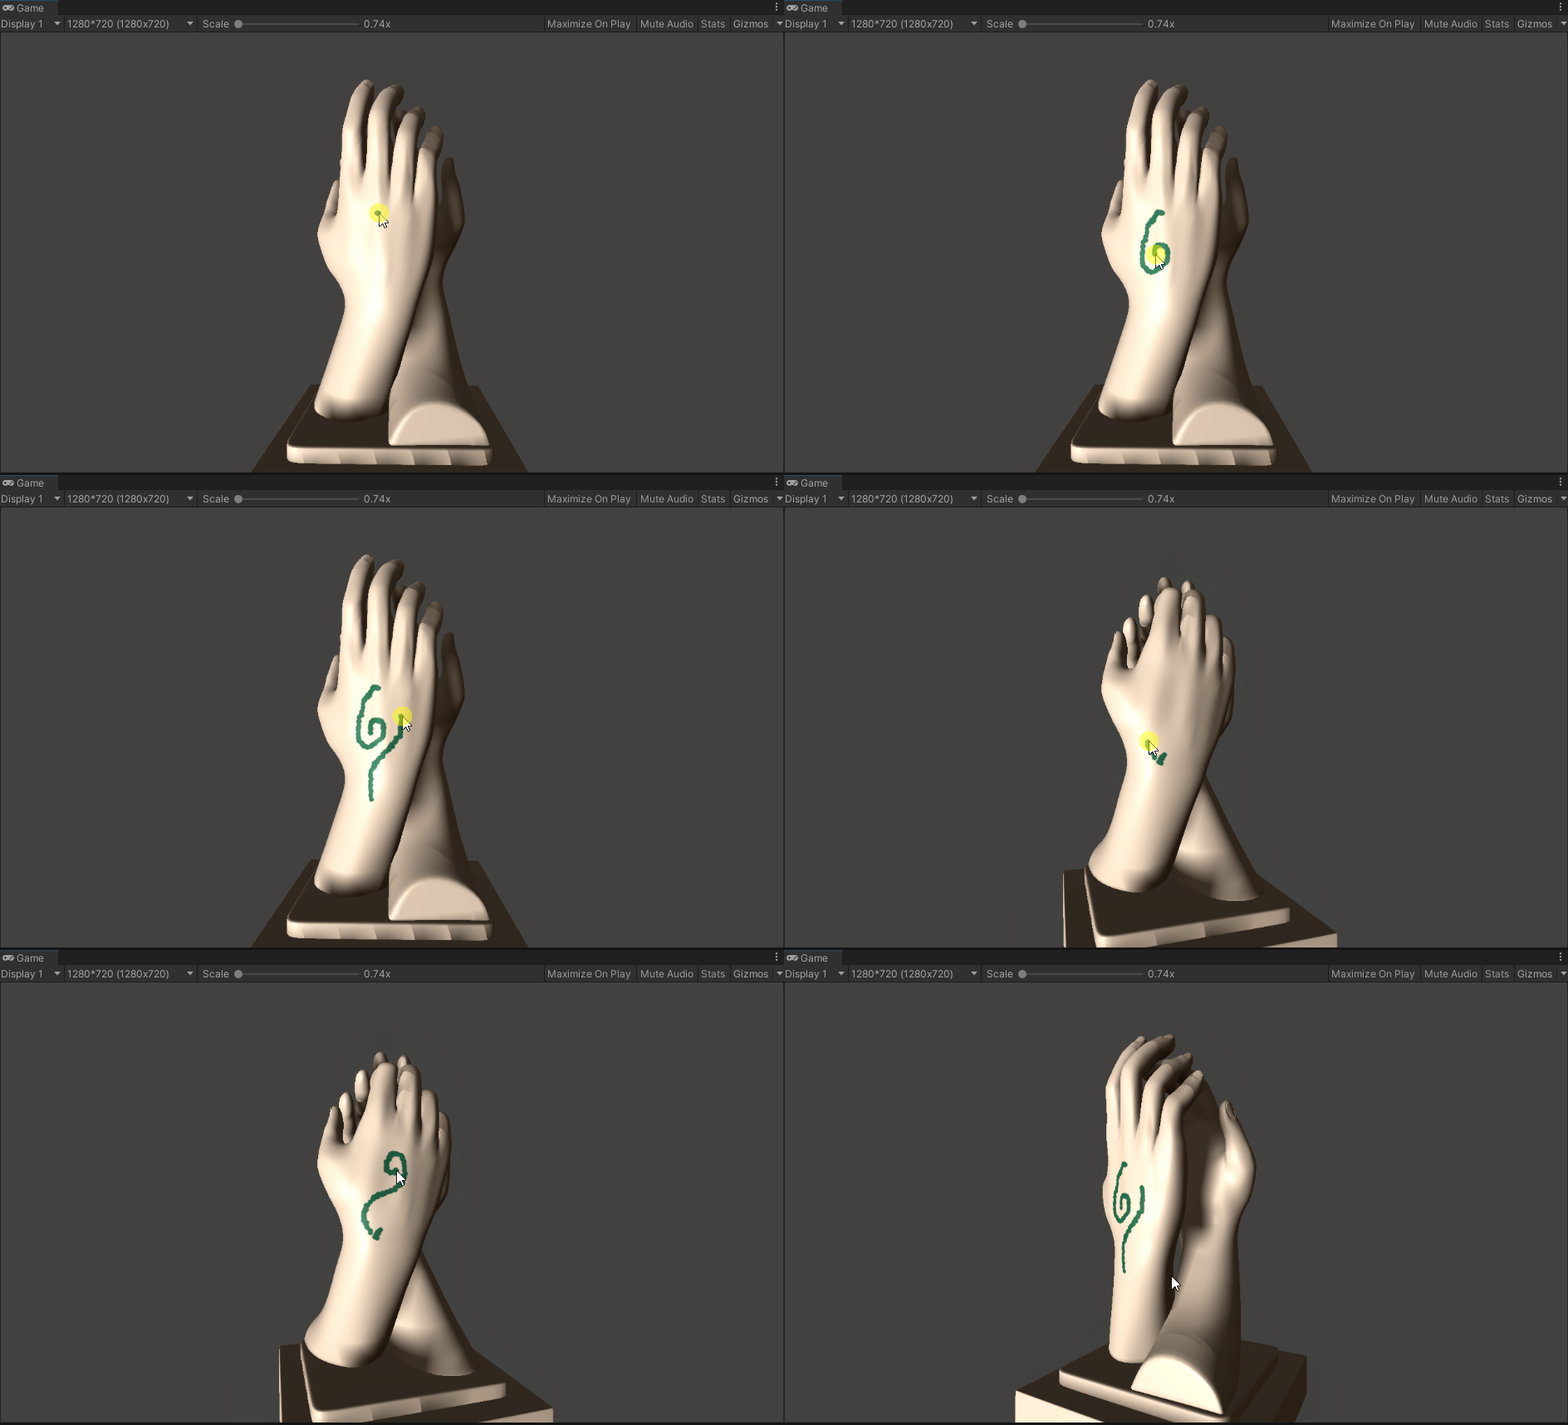
本文Demo工程已上传到CodeChina(最近GitHub貌似有问题,经常连不上),感兴趣的同学可自行下载学习。
CodeChina地址:https://codechina.csdn.net/linxinfa/UnityShaderGraphGraffiti
注意,我使用的Unity版本是2020.2.7f1c1,ShaderGraph版本是Version 10.3.2 - March 01, 2021,如果你使用的版本比我的版本低,则可能运行我的Demo工程会有问题。

二、思考
首先,我们思考一下,实现这个功能需要解决的问题:
1 我们怎么知道鼠标点击在模型上的具体位置?
2 我们怎么在这个位置画笔刷图案?
3 我们画的图案如何与模型的主贴图融合?
第一个问题,我们可以利用摄像机射线碰撞检测来获取鼠标点击到模型上的具体位置。
用到Camera.ScreenPointToRay和Physics.Raycast接口。
第二个问题,我们可以把鼠标画的点画在一张RenderTexture上,
基于第一个问题答案,我们可以得到射线碰撞检测的RaycastHit,而RaycastHit有一个textureCoord成员变量,这个就是uv坐标,有了uv值,就可以换算出在RenderTexture图上的具体位置,再使用Graphics.DrawTexture接口在RenderTexture上画笔刷图案即可。
第三个问题,两张图片的融合,这就交给ShaderGraph来处理吧。
所以,其实这个功能的核心不是ShaderGraph,ShaderGraph只是做最后的图片融合处理。
当然,这只是其中一种思路,如果各位大佬有更好的方法,欢迎指出。
三、实操
1、Render Texture
首先,创建一个Render Texture。

设置一下Render Texture的尺寸和格式,尺寸的大小决定我们最后画图案的精度。

我们可以看到,Render Texture默认是黑乎乎的一张图。

2、笔刷图案
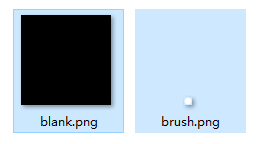
用photoshop做两张图,一张纯黑色的方图(用于初始化填充Render Texture),一张笔刷图,简单起见,笔刷图案我就用一个白点。
如下:
3、写脚本:DrawOn3D.cs
开始写代码,就一个脚本:DrawOn3D.cs。代码的注释我写得比较清晰了,大家应该能看懂。
代码如下:
// DrawOn3D.cs

using UnityEngine;

/// <summary>
/// 在3D模型上涂鸦
/// </summary>
public class DrawOn3D : MonoBehaviour
{
    /// <summary>
    /// 绘制的目标图片
    /// </summary>
    public RenderTexture rt;
    /// <summary>
    /// 笔刷
    /// </summary>
    public Texture brushTexture;

    /// <summary>
    /// 空白图
    /// </summary>
    public Texture blankTexture;

    /// <summary>
    /// 主摄像机
    /// </summary>
    public Camera cam;

    /// <summary>
    /// 模型
    /// </summary>
    public Transform modelTransform;

    void Start()
    {
        cam = Camera.main;
        DrawBlank();
    }

	// 初始化RenderTexture
    private void DrawBlank()
    {
        // 激活rt
        RenderTexture.active = rt;
        // 保存当前状态
        GL.PushMatrix();
        // 设置矩阵
        GL.LoadPixelMatrix(0, rt.width, rt.height, 0);

        // 绘制贴图
        Rect rect = new Rect(0, 0, rt.width, rt.height);
        Graphics.DrawTexture(rect, blankTexture);

        // 弹出改变
        GL.PopMatrix();

        RenderTexture.active = null;
    }

	// 在RenderTexture的(x,y)坐标处画笔刷图案
    private void Draw(int x, int y)
    {
        // 激活rt
        RenderTexture.active = rt;
        // 保存当前状态
        GL.PushMatrix();
        // 设置矩阵
        GL.LoadPixelMatrix(0, rt.width, rt.height, 0);


        // 绘制贴图
        x -= (int)(brushTexture.width * 0.5f);
        y -= (int)(brushTexture.height * 0.5f);
        Rect rect = new Rect(x, y, brushTexture.width, brushTexture.height);
        Graphics.DrawTexture(rect, brushTexture);

        // 弹出改变
        GL.PopMatrix();

        RenderTexture.active = null;
    }

    private void Update()
    {
        if (Input.GetMouseButton(0))
        {
            Ray ray = cam.ScreenPointToRay(Input.mousePosition);
            RaycastHit hit;
            if (Physics.Raycast(ray, out hit))
            {
                // hit.textureCoord是碰撞点的uv值,uv值是从0到1的,所以要乘以宽高才能得到具体坐标点
                var x = (int)(hit.textureCoord.x * rt.width);
                // 注意,uv坐标系和Graphics坐标系的y轴方向相反
                var y = (int)(rt.height - hit.textureCoord.y * rt.height);
                Draw(x, y);
            }
        }

		// 按左右方向键,旋转模型
        if(Input.GetKey(KeyCode.LeftArrow))
        {
            modelTransform.Rotate(0, 360 * Time.deltaTime, 0);
        }
        else if (Input.GetKey(KeyCode.RightArrow))
        {
            modelTransform.Rotate(0, -360 * Time.deltaTime, 0);
        }
    }
}
- 1
- 2
- 3
- 4
- 5
- 6
- 7
- 8
- 9
- 10
- 11
- 12
- 13
- 14
- 15
- 16
- 17
- 18
- 19
- 20
- 21
- 22
- 23
- 24
- 25
- 26
- 27
- 28
- 29
- 30
- 31
- 32
- 33
- 34
- 35
- 36
- 37
- 38
- 39
- 40
- 41
- 42
- 43
- 44
- 45
- 46
- 47
- 48
- 49
- 50
- 51
- 52
- 53
- 54
- 55
- 56
- 57
- 58
- 59
- 60
- 61
- 62
- 63
- 64
- 65
- 66
- 67
- 68
- 69
- 70
- 71
- 72
- 73
- 74
- 75
- 76
- 77
- 78
- 79
- 80
- 81
- 82
- 83
- 84
- 85
- 86
- 87
- 88
- 89
- 90
- 91
- 92
- 93
- 94
- 95
- 96
- 97
- 98
- 99
- 100
- 101
- 102
- 103
- 104
- 105
- 106
- 107
- 108
- 109
4、ShaderGraph
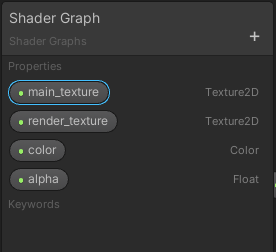
创建一个PBR ShaderGraph,实现模型主贴图和RenderTexture的融合。

暴露出四个变量,方便在材质球中设置参数。
5、模型
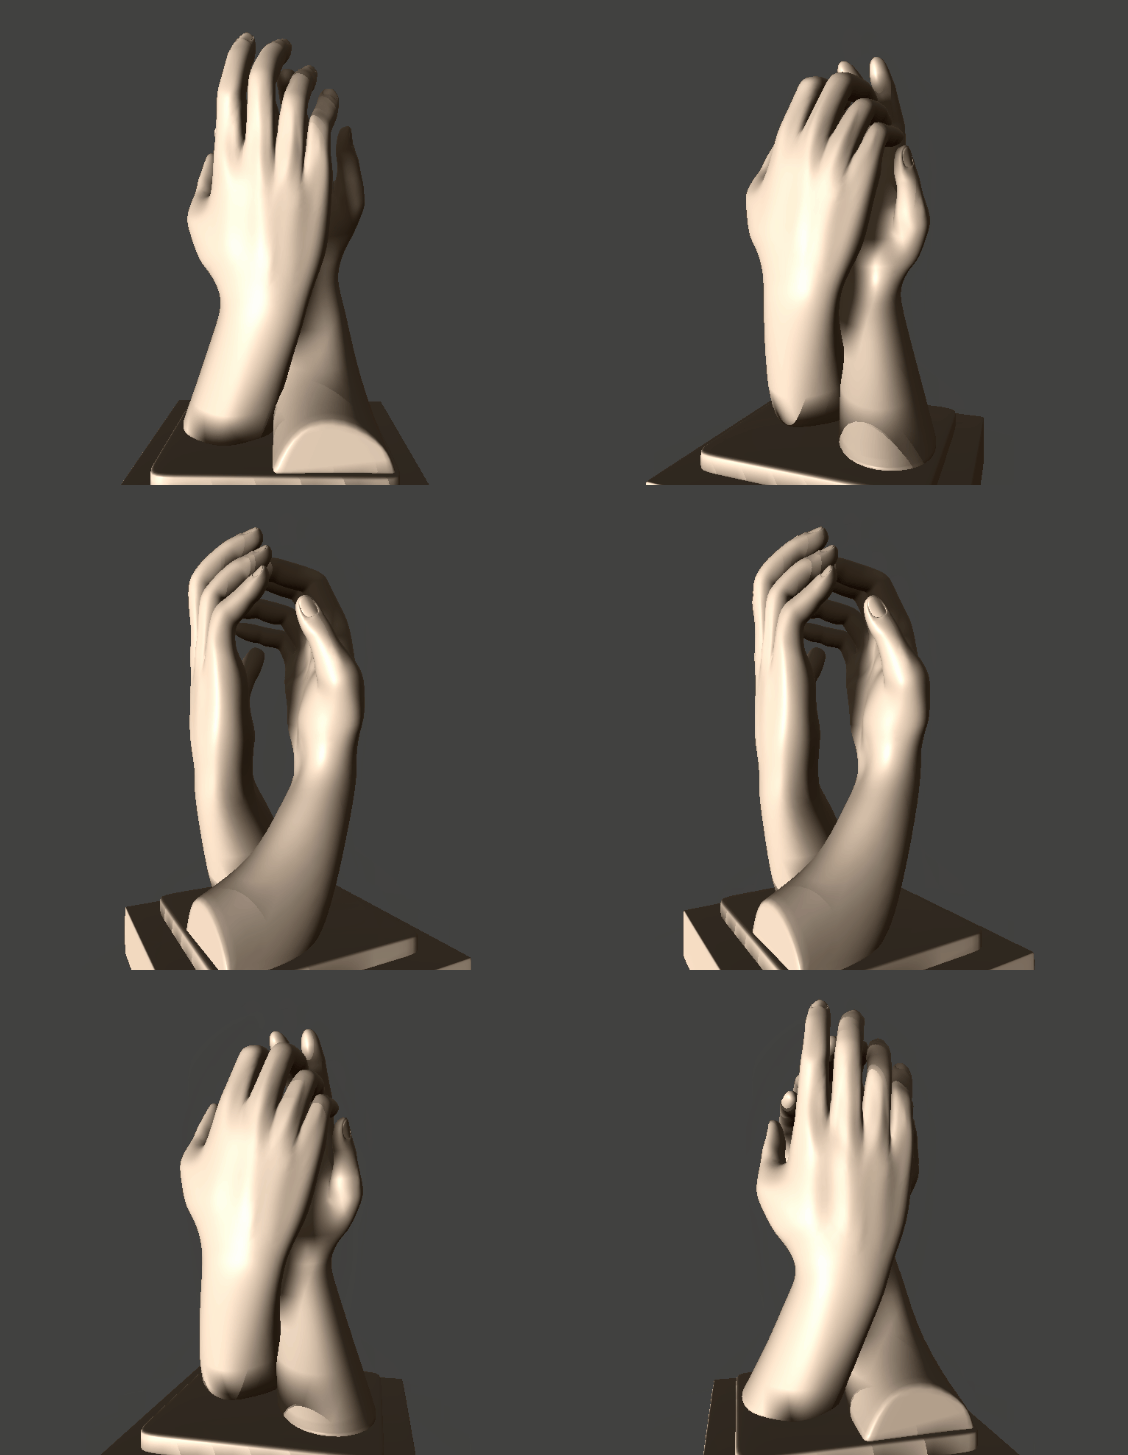
为了体现我的艺术天分,我找了个手模。
6、材质球
创建一个材质球HandMat,使用上面做的ShaderGraph,给材质球赋值贴图。

最后将材质赋给模型。

7、挂脚本
将DrawOn3D脚本挂到Main Camera上,并设置好参数。
Rt:Render Texture,用于画图案;
Brush Texture:笔刷图案,一个白点;
Blank Texture:一张纯黑色的空白图;
Cam:主摄像机,用于做射线检测;
Module Transform:用于旋转模型。

四、运行测试
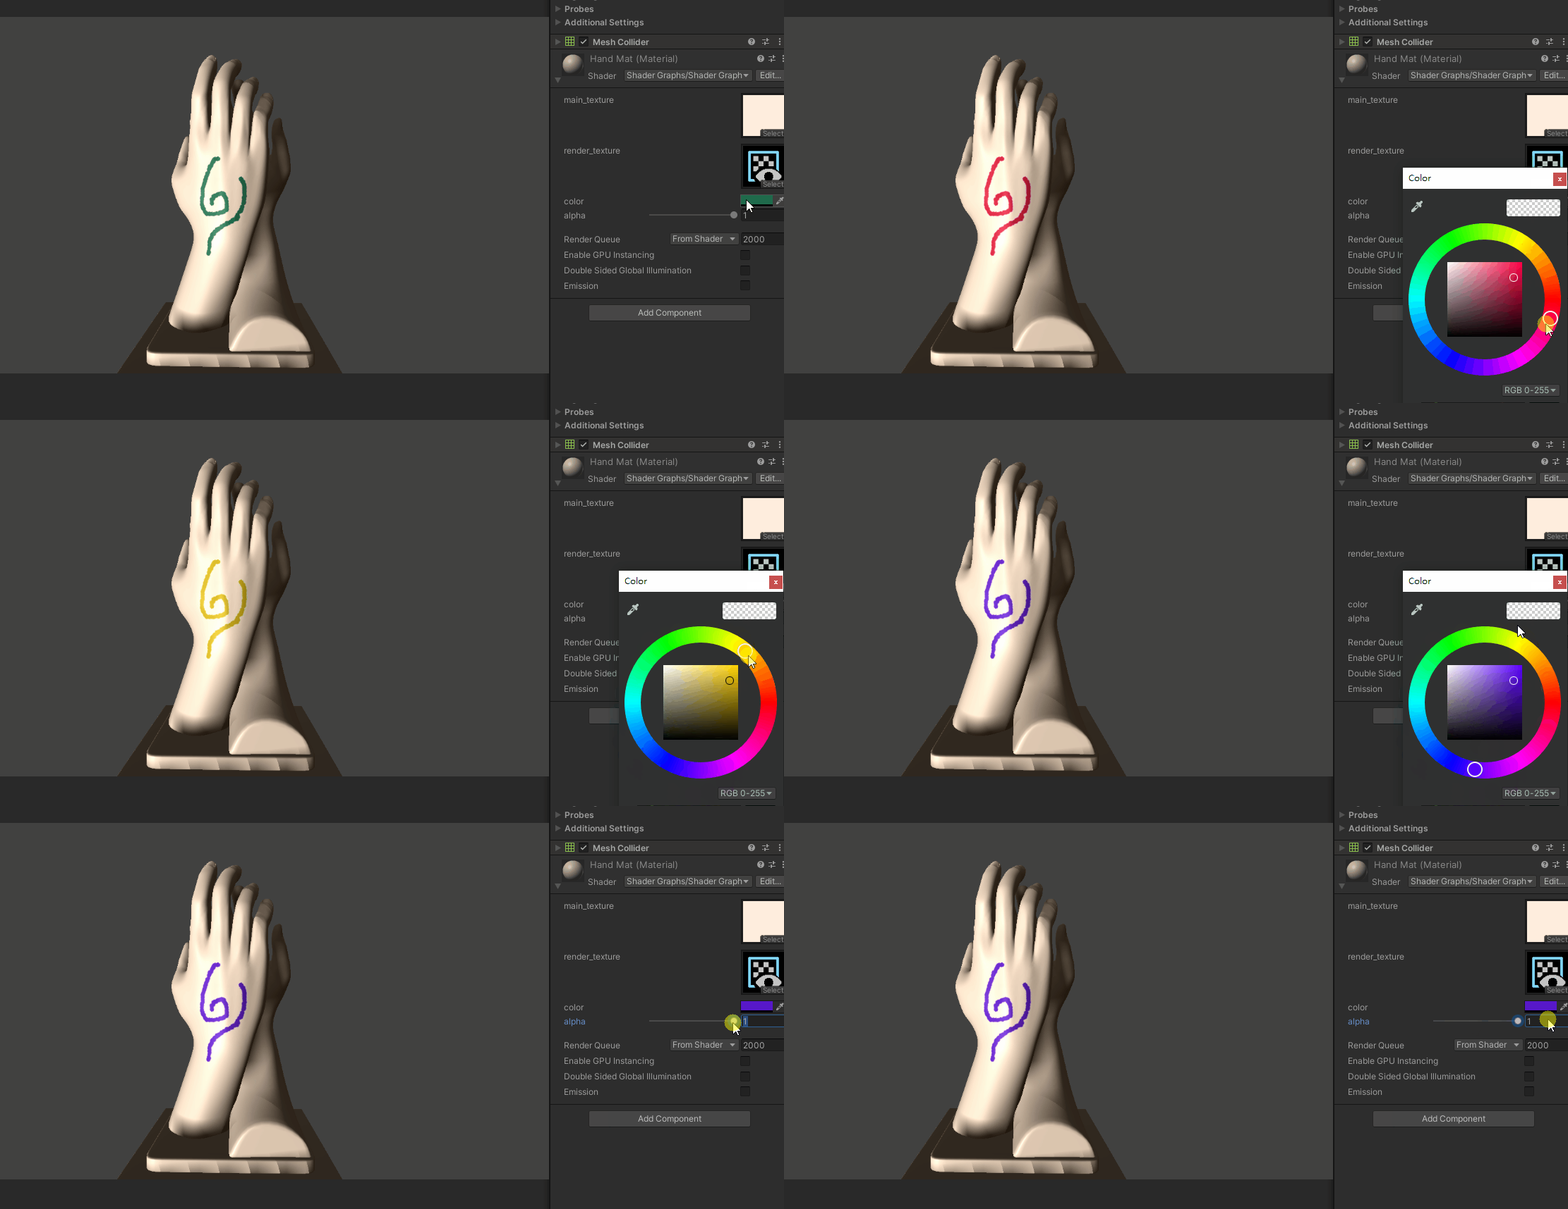
运行Unity,测试效果如下:

可以通过材质球调节图案颜色和透明度。
五、结束
写完了,现在是23:01,收拾睡觉,大家晚安。


